
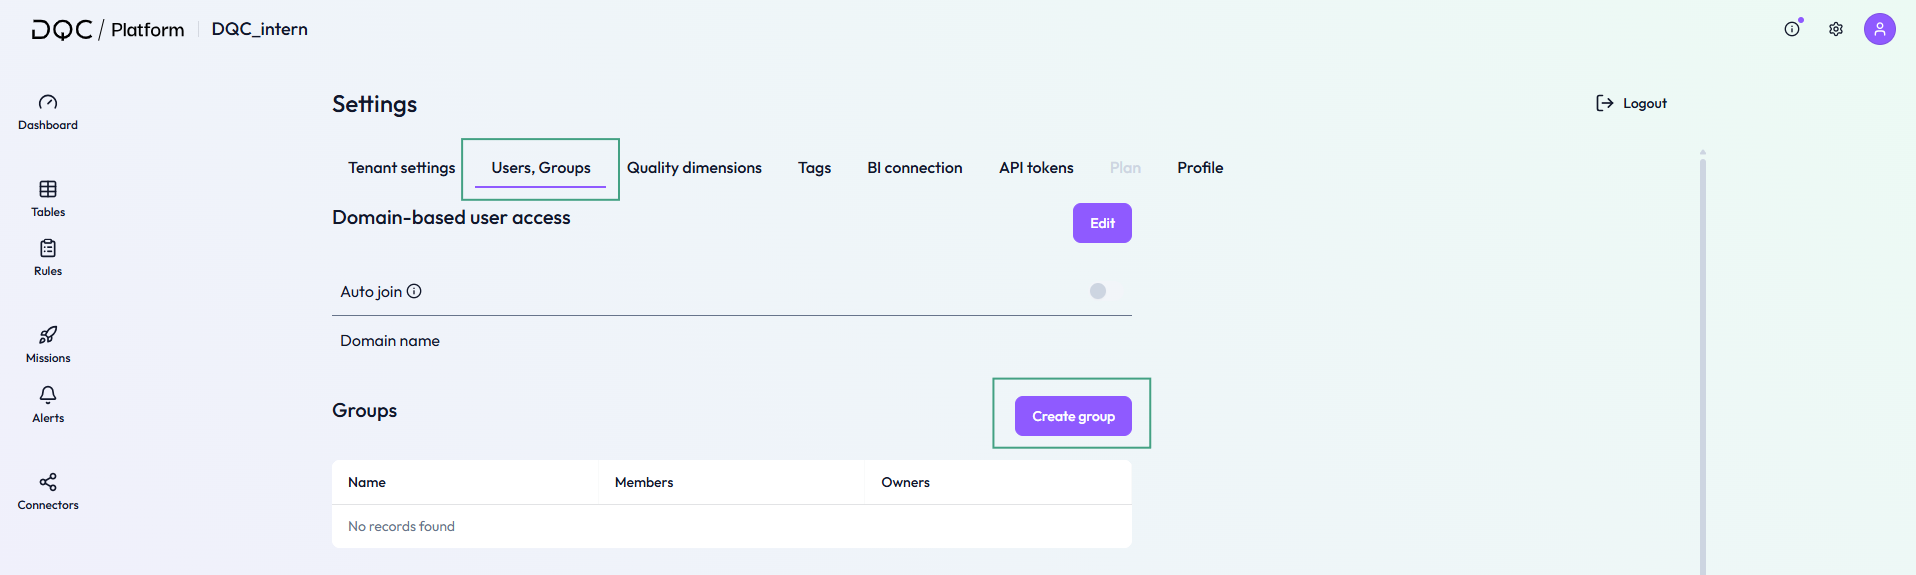
Groups management
Groups in the DQC Platform help manage access rights efficiently across multiple users. Instead of assigning permissions to each user individually, a group can be created once and then granted access to connectors, tables, or rulesets. This is especially useful for managing table access or shared connector access across teams, projects, or departments.
How to create a group
Navigate to Settings → Groups
Click on Create group
Enter a name, optional description, and add members that are already on the tenant
Click Save to create the group
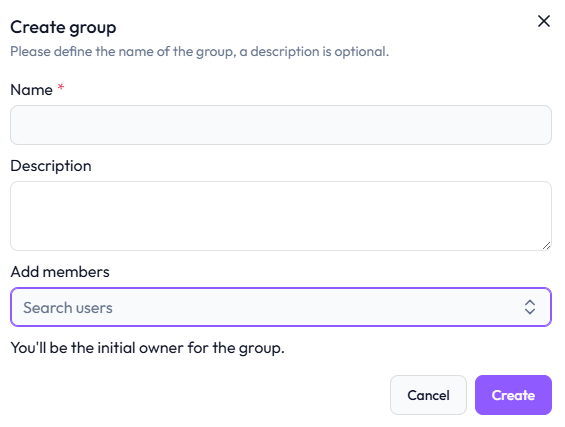 Define the group’s name, description, and initial members
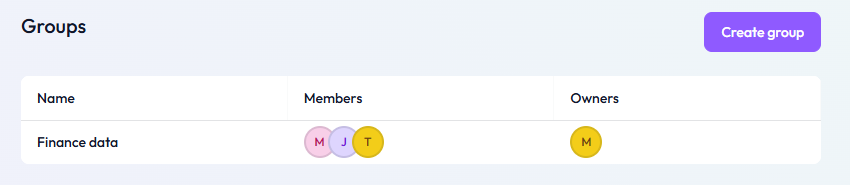
Managing group members
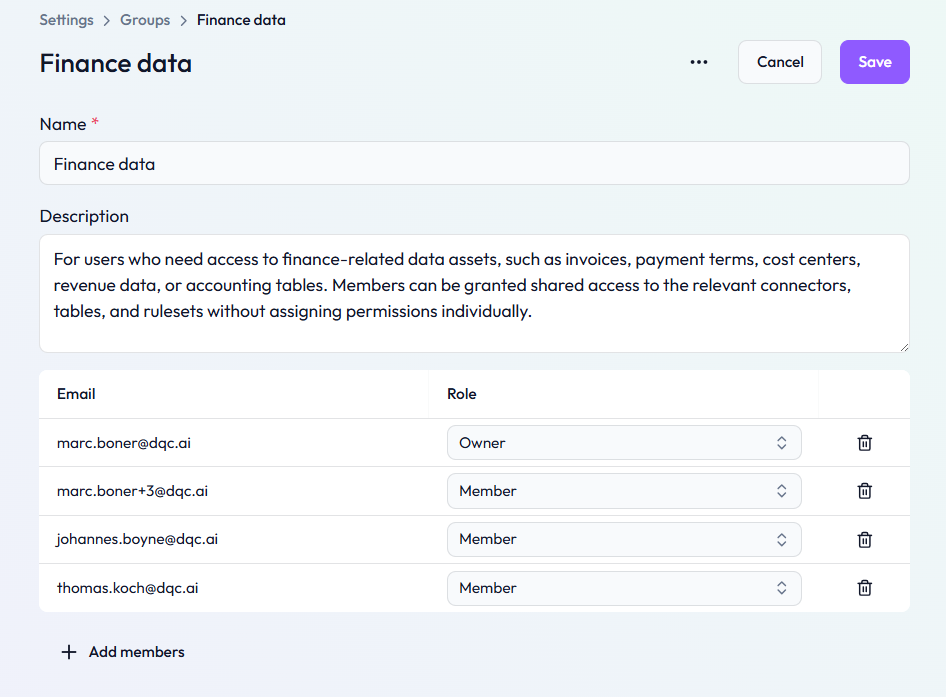
Click on the group name to open group settings
When you are the group owner or a tenant admin, you can:
Add or remove members
Change group name and description
Change roles (Owner or Member)
 Notes
Notes
Only Tenant Owners can create new groups
Users can be part of multiple groups simultaneously
Learn more: User Management and Access Rights