
Setting up an alert
Alerts in the DQC Platform help you automatically notify team members when data quality issues occur. They are linked to specific tables and trigger after each table check—ensuring issues are caught and communicated immediately.
How to create an alert
Navigate to the table for which the alert should be created
Click "Create alert" in the top bar

How to set up an alert:
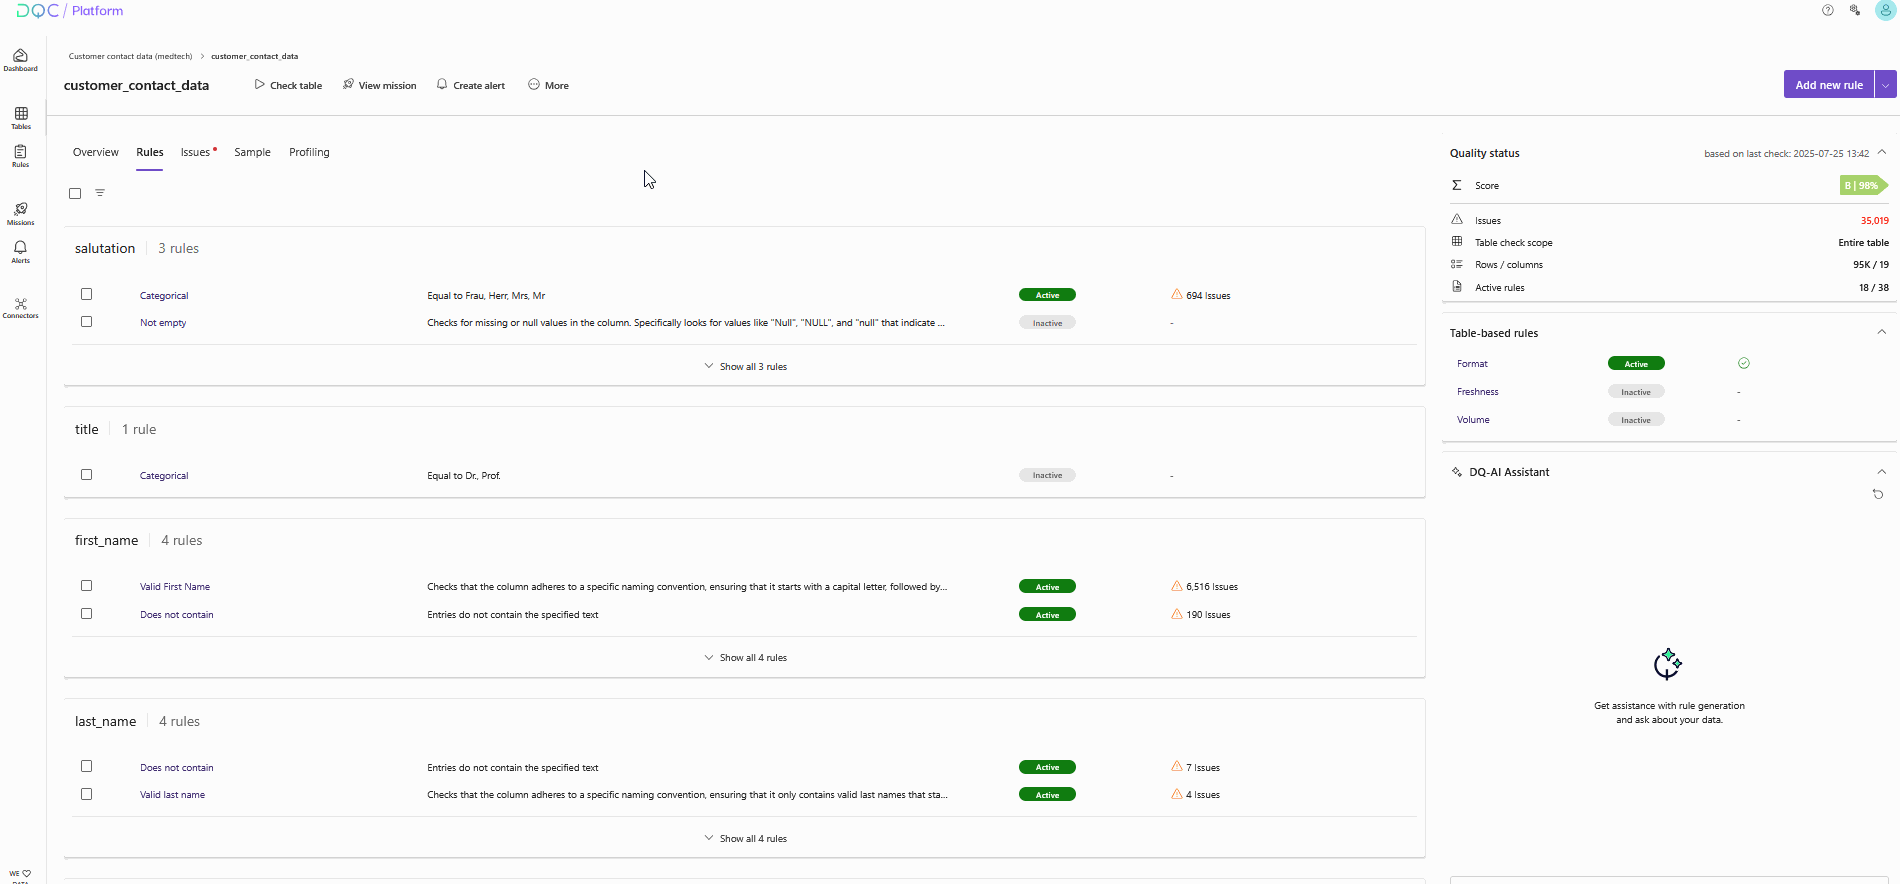
A setup window will open and guide you through three steps:
1. Basics
Name – Add a title for the alert to identify it in the system
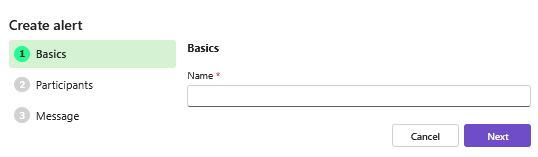
2. Participants
Choose how recipients should be selected (available channels are email, MS Teams chat and MS Teams channel):
Column values – Select a column containing names or email addresses
User names – Manually add specific users (MS Teams or email)
SQL query – Define a query that returns the list of recipients
Additional settings:
Communication channel – Choose between Email or MS Teams
Condition – Filter for specific rows or rules if the alert should not apply to all issues
Notification threshold – Define when a message is sent (e.g., only above a certain number of issues)
 Participant setup for an alert with optional filters and thresholds
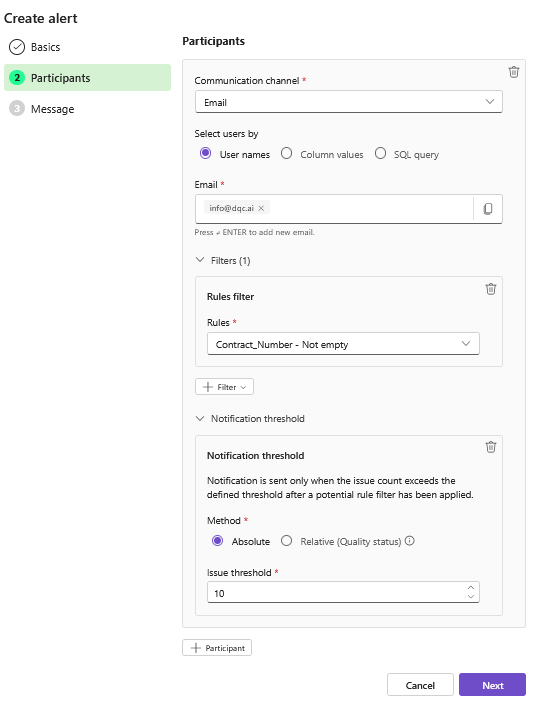
3. Message
Configure how the alert message will appear:
Columns for context – Include key fields that explain the issue
Max number of issues – Limit the number of rows shown in the alert
Deep links – Provide direct access to fix issues in other systems
Buttons – Add any relevant URLs for quick action
Test message – Optionally send a preview to test the setup
 Alert message setup with context fields and links
Alert management
After saving, the alert becomes active. Messages will be sent automatically after each table check if issues are found.
You can always:
Click "View alert" to review the setup
Go to the Alerts tab in the sidebar to manage all alerts
 Notes
Notes
Alerts are only triggered if active rules detect issues
Combine alerts with rule filters to avoid noise
Learn more: Participant Selection for Alerts, Buttons in Alerts